
If you're in the custom apparel business, you've probably heard about DTF printing. It's a game-changer for transferring vibrant designs onto various fabrics. But as your order volume grows, you might find yourself spending hours preparing individual transfers. That's where the DTF gangsheet comes in. This powerful technique lets you print multiple designs on a single sheet, slashing production time and material costs. In this guide, we'll dive deep into gangsheets, from creation to ordering, so you can supercharge your DTF printing workflow.
What is a DTF Gangsheet?
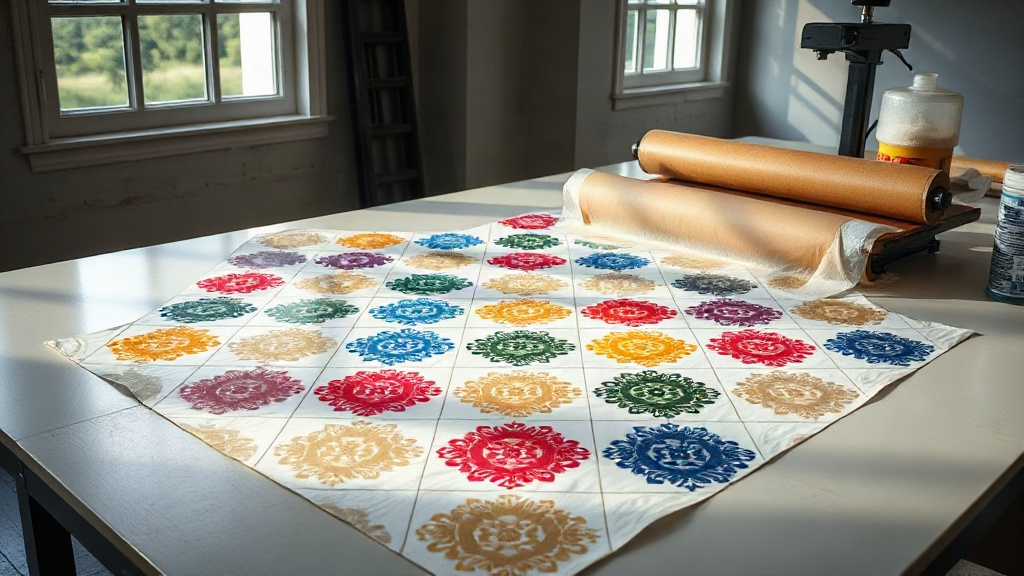
A DTF gangsheet is essentially a large sheet of DTF film that contains multiple designs arranged together. Instead of printing each design separately, you gang them up on one sheet, hence the name. This method is widely used in the DTF printing community to maximize efficiency and minimize waste. When you print a gangsheet, you're able to produce many transfers in one go, saving both time and money.
Why Use a Gangsheet?
The primary reason to use a DTF gangsheet is efficiency. By grouping designs, you reduce the number of film sheets and powder applications, which cuts down on labor and material costs. Additionally, gangsheets allow you to utilize the entire sheet area, avoiding wasted film. For businesses that handle a variety of designs in small quantities, gangsheets are a lifesaver.
Benefits of DTF Gangsheets
Let's explore the key advantages of incorporating gangsheets into your DTF printing routine.
- Cost savings: By using fewer sheets and less powder, you lower your cost per transfer.
- Time efficiency: Print multiple designs in one pass, reducing manual handling.
- Consistency: Gangsheets ensure uniform quality across all designs since they go through the same process.
- Flexibility: You can mix different sizes and designs on one sheet, perfect for sample packs or varied orders.
How to Create a DTF Gangsheet
Creating a gangsheet involves careful planning and the right tools. Here's a step-by-step guide to help you get started.
Step 1: Design Preparation
First, ensure all your designs are in a compatible format, typically PNG with transparent background. Check that they are high resolution (300 DPI recommended) for crisp prints. Use design software like Photoshop or Illustrator to arrange them. If you're not a designer, many online tools and templates can help.
Step 2: Nesting and Layout
Nesting is the art of arranging designs closely to minimize empty space. Consider the size of your DTF film and the dimensions of each design. Rotate designs if needed to fit more. Leave a small gap (about 0.25 inches) between designs to prevent cutting errors. Also, include registration marks or a border for easy trimming.
Step 3: Printing and Curing
Once your layout is ready, print it using your DTF printer. Follow your printer's settings for film type and ink. After printing, apply hot melt powder evenly, shake off excess, and cure with a heat press or oven. The entire sheet is then ready to be cut into individual transfers.
Common Mistakes to Avoid with Gangsheets
Even seasoned printers make mistakes. Here are some pitfalls to watch out for.
- Overcrowding: Packing designs too tightly can cause ink bleeding or difficulty in cutting.
- Inconsistent sizing: Ensure all designs are scaled correctly; otherwise, you'll end up with unusable transfers.
- Ignoring film orientation: Always print on the coated side of the film; otherwise, the design won't transfer.
- Improper powder application: Too much powder leads to a rough feel; too little causes poor adhesion.
Ordering DTF Gangsheets Online
If you don't have in-house printing capabilities, you can order custom gangsheets from specialized services. When choosing a provider, consider factors like turnaround time, print quality, and pricing. Many companies allow you to upload your design files and specify the sheet size. Some even offer gangsheet builder tools that automatically nest your designs for optimal use of space.
Maximizing Efficiency with Gangsheets
To truly reap the benefits, integrate gangsheets into a lean workflow. Plan your prints in batches, grouping orders with similar deadlines. Use software to track design inventory and sheet usage. And always keep a few pre-made gangsheets for popular designs to handle rush orders.
Frequently Asked Questions
What is the ideal size for a DTF gangsheet?
The ideal size depends on your printer's capabilities and your order volume. Common sizes are 13x19 inches (A3+) for desktop printers, up to 24x36 inches for larger formats. Choose a size that accommodates your typical designs without excessive waste.
Can I mix different designs on one gangsheet?
Absolutely! Mixing designs is one of the main advantages. Just ensure they are all properly spaced and have consistent print settings. However, avoid mixing designs with drastically different ink coverage, as it may affect curing.
How do I cut a gangsheet into individual transfers?
Use a sharp craft knife or a cutting machine (like a Cricut) to cut along the borders of each design. For best results, cut slightly outside the design edge to leave a small border, which helps with peeling.
What film should I use for gangsheets?
Use high-quality DTF film designed for your printer. Typically, a double-sided matte film works well. Ensure it's compatible with your ink and powder. Some films are specifically marketed for gangsheet use.
How long does it take to produce a gangsheet?
Production time varies based on the number of designs and your equipment. Printing and powdering can take 10-15 minutes for a small sheet, plus curing time. Ordering from a service usually takes 1-3 business days plus shipping.
By mastering the DTF gangsheet, you'll unlock new levels of productivity and profitability in your custom apparel business. Whether you print in-house or outsource, this approach is a smart way to handle multiple designs efficiently. Start experimenting with gangsheets today and watch your output soar.