
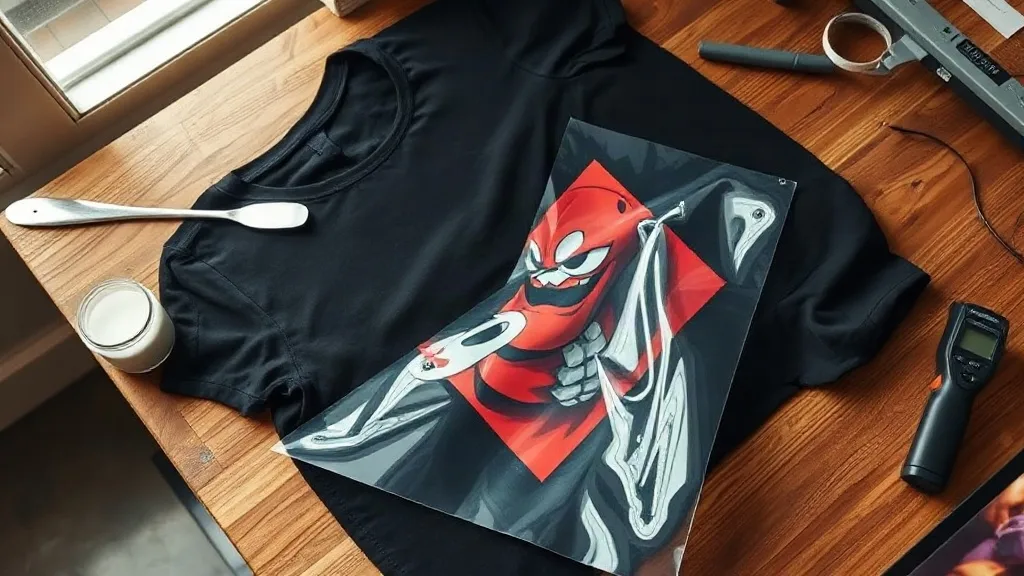
Most people meet dtf transfers for the first time through a sample pack and a five minute demo video. The prints look great, the colors pop, and it seems like the easiest decoration method ever invented. Then you press your first fifty pieces for a paying customer and the questions start: why did the edges lift after two washes, why does the white look chalky, why is the film curling off the platen before the press even closes. This guide is written for the shop owner who has moved past the demo stage and needs the process to hold up under real production pressure.
I have run small batch decoration out of a two press garage setup for several years, and DTF has become the method I reach for when a customer wants full color on a blend, a hoodie, or a one off design that cannot justify screen setup. What follows is the practical knowledge that took the longest to learn, organized so you can skip some of the expensive parts.
What Actually Happens Inside a DTF Transfer
A dtf transfers sheet is not ink printed on paper. It is a mirror image printed onto a coated PET film with water based pigment inks, then dusted with a thermoplastic hot melt adhesive powder while the ink is still wet. The powder sticks only where ink sits. Once the sheet is cured, that powder layer becomes the glue that bonds the design to fabric, and the ink layer becomes the color you see.
That two layer structure explains nearly every behavior you will observe later. The adhesive is doing the mechanical work of holding on. The ink is just riding along. If the powder is uneven, under cured, or over cured, the print fails even when the artwork was perfect.
Why the powder matters more than the printer
Shops obsess over which printer to buy and treat powder as a commodity. In practice, powder quality decides your wash durability. A fine, consistent adhesive melts into an even film. Cheap coarse powder leaves grit, and grit means tiny unbonded islands that peel first. If you notice the transfer feels sandy after curing, that is your warning sign.
Shake the powder gently rather than dumping it. You want a thin even coat, not a snowdrift. Excess powder gets shaken off anyway, and the dust in your workspace is a health and cleanup issue nobody enjoys.
Curing is a narrow window
Under cured powder stays powdery and will not bond. Over cured powder turns glassy and refuses to melt again at press temperature. The practical test is visual: the powder should go from white and matte to a slightly glossy, fused surface with no loose grains. A cheap infrared thermometer and a consistent pass speed will get you repeatable results faster than guessing.
Press Settings That Hold Up After Washing
Every film brand publishes a recommended window, and every shop quietly drifts outside it. Here is a starting point that works for most cotton and cotton blend garments, then adjust from there.
- Temperature: 150 to 160 C at the platen surface, measured not assumed
- Pressure: medium to firm, enough that you can see the fabric texture through the film
- Time: 10 to 15 seconds for the initial press
- Peel: warm or cold depending on film type, always slow and consistent
- Second press: 5 seconds with a cover sheet after peeling to lock the edges
The second press is the step most people skip, and it is the single biggest improvement to edge durability. Once the carrier film is gone, a short covered press pushes the softened adhesive into the fabric fibers instead of letting it sit on top.
Pressure is the variable nobody measures
Temperature and time get all the attention because they have numbers on a display. Pressure is set by feel, which means it drifts. Too light and the adhesive never contacts the fibers. Too heavy and the ink layer squashes outward, giving you a halo and a stiff hand feel. If you switch between a thin tee and a thick fleece, you are changing the pressure requirement, so make that adjustment consciously.
Peel temperature changes the hand feel
Hot peel is faster and suits high volume work, but it stretches the ink slightly while it is still soft. Cold peel takes patience and a cooling surface, yet it preserves fine detail and gives a softer finish. For jobs with small text or halftone gradients, cold peel is usually worth the wait.
Fabric Compatibility, Honestly Assessed
The appeal of dtf is that it grips almost anything, and that claim is mostly true. Cotton, poly blends, canvas, nylon, and even some leathers accept the adhesive. The honest caveats matter though.
High stretch fabrics like spandex blends will crack the ink layer if the design spans a joint or a curve. The adhesive holds, but the ink itself has limited elongation. On those garments, keep designs smaller and away from the highest stretch zones. Coated or water repellent fabrics are the other problem child, since the adhesive cannot mechanically grip a slick surface, and you will see lifting at the corners after a few wears.
Dark garments are where the white ink base earns its keep. A properly built white layer under color gives opacity that screen printers charge extra for. If the white looks thin or grey, the issue is usually ink laydown volume, not the film.
Artwork Rules That Save You Rework
DTF is forgiving, not magic. Halftones and gradients reproduce beautifully because there is no mesh to interfere. Fine hairlines under about half a millimeter are riskier, since the powder needs enough ink area to anchor to. Very thin strokes can end up with a weak adhesive footprint and flake off first.
Build your files with a dedicated white layer rather than relying on automatic underbase generation. Automatic underbase tends to overfill, which creates a thick, rubbery patch. Manual control gives you a thinner, softer result with better drape.
Mirroring is automatic in most RIP software, but check it on every new file. A mirrored design on a finished shirt is a refund, not a learning experience.
Finding a Supplier Without Wasting Weeks
If you are searching for dtf transfers near me, the real question is not geography, it is consistency. A local supplier who can turn orders in a day is worth a premium when you have a deadline. A regional one with better pricing is worth it for planned runs. What matters most is whether the fifth order looks like the first.
Ask any supplier three questions before committing: what film and powder they use, whether they cure by visual check or with a measured process, and how they handle a defective batch. The answers tell you more than a price list. Order a small test batch, wash it three times, and inspect the edges. That single test has saved me from more than one bad relationship.
Keeping a reference set
Press one test shirt from each new roll or batch and label it with the date and settings. When a customer complains six weeks later, you have a physical reference instead of a memory. It also reveals drift in your own process before a client notices it.
Common Defects and Their Real Causes
- Edges lifting after wash: under cured powder or a skipped second press
- Chalky white: too little white ink volume or a stretched white layer
- Cracking across the chest: design placed over a high stretch zone
- Powder residue on the finished print: excess powder not shaken off before curing
- Blotchy color: moisture in the film or an inconsistent cure pass
Work through causes in that order. Most shop owners replace film or blame the printer when the fix was a five second adjustment at the press.
Frequently Asked Questions
How many washes should a good DTF transfer survive?
With correct curing, adequate pressure, and a covered second press, most prints hold up for dozens of home laundry cycles without meaningful edge lift. Washing inside out in cold water and avoiding a hot dryer drum will extend that considerably. If a print fails after two or three washes, treat it as a process problem rather than a product limitation.
Can I press DTF transfers onto 100 percent polyester without scorching it?
Yes, but lower the platen temperature to around 130 to 140 C and extend the time slightly. Polyester is sensitive to heat and can glaze or shrink under a hot press. Test on an offcut from the same garment before committing a full run.
Do I need a special press for DTF work?
Any heat press with reliable temperature control and adjustable pressure will do the job. A clamshell works fine for flat garments, while a swing away press is easier for thick hoodies because the platen stays level. What matters more than press style is knowing your actual platen temperature, which is why an infrared thermometer is worth the small cost.
Why does my transfer look dull right after peeling?
Ink appears slightly muted while it is still warm and the adhesive has not fully settled. Give the garment a minute to cool, then check again. If it stays dull, your white underbase is probably too thin, or the film was pressed at too low a temperature for the powder to fuse properly.
Is DTF cheaper than screen printing for small orders?
For runs under roughly two dozen pieces with multiple colors, DTF almost always wins because there is no screen setup cost and no per color charge. Above a few hundred identical pieces, screen printing typically becomes cheaper per unit. The crossover point depends on your local labor and material costs, so run the numbers for your own shop rather than relying on a general rule.