
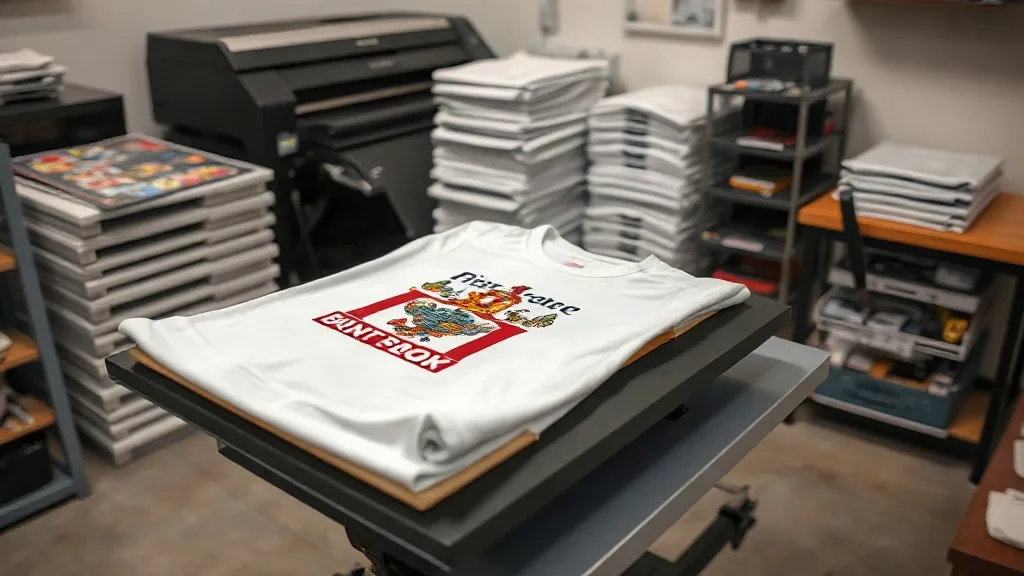
If you've been exploring custom apparel printing, you've likely heard about dtf transfers. This innovative method is revolutionizing the way we print on fabrics, offering vibrant colors and durability that rival traditional techniques. Whether you're a hobbyist or a small business owner, understanding DTF technology can open up a world of possibilities for your creative projects. In this guide, we'll walk you through everything you need to know about DTF transfers, from the basics to pro tips, so you can achieve flawless results every time.
What Are DTF Transfers?
DTF stands for Direct to Film. It's a printing method where your design is printed onto a special film, then coated with a powder adhesive and cured. The resulting transfer can be applied to a wide range of fabrics, including cotton, polyester, and blends. Unlike DTG (Direct to Garment) printing, DTF doesn't require pre-treatment of the fabric, making it a versatile and cost-effective solution for small batches and custom orders.
The DTF Process Explained
The DTF process involves several key steps:
- Design Preparation: Your artwork is prepared digitally, ensuring it's mirrored and sized correctly.
- Printing: A specialized DTF printer prints the design onto a PET film using water-based inks.
- Powder Application: While the ink is still wet, a hot-melt adhesive powder is applied evenly over the design.
- Curing: The film is then heated to melt the powder, creating a durable, flexible layer.
- Transfer: Finally, the film is pressed onto the fabric with a heat press, and the film is peeled away, leaving the design behind.
Why Choose DTF Transfers?
DTF transfers offer several advantages over other printing methods:
- Versatility: Works on almost any fabric, including dark colors and synthetic materials.
- Durability: The prints are highly resistant to washing, cracking, and fading.
- Cost-Effective: No need for expensive pre-treatment or specialized equipment beyond a heat press.
- Detail: Captures fine details and gradients with impressive accuracy.
Getting Started with DTF Transfers
To begin your DTF journey, you'll need a few essentials: a DTF printer, DTF film, adhesive powder, and a heat press. If you're not ready to invest in a printer, you can order pre-printed dtf transfers from suppliers and apply them yourself. This is a great way to test the waters without a large upfront cost.
Finding Quality DTF Transfers Near You
When sourcing transfers, quality is paramount. Look for suppliers who use high-quality inks and films to ensure vibrant, long-lasting results. If you're searching for dtf transfers near me, check local print shops or online retailers that specialize in DTF supplies. Reading reviews and requesting samples can help you gauge the quality before committing to a large order.
Step-by-Step Application Guide
Applying DTF transfers is straightforward if you follow these steps:
- Preheat Your Heat Press: Set the temperature to around 300°F to 325°F (150°C to 160°C).
- Position the Transfer: Place the transfer film on the fabric with the design facing up.
- Press: Apply medium to firm pressure for 10-15 seconds.
- Peel: Wait for the transfer to cool completely before peeling off the film. For a matte finish, peel while hot; for a glossy finish, peel cold.
- Post-Press: Cover the design with a Teflon sheet or parchment paper and press again for 5 seconds to set the adhesive.
Common Mistakes to Avoid
Even experienced users can run into issues. Here are some pitfalls to watch out for:
- Insufficient Pressure: Too little pressure results in poor adhesion. Make sure your heat press is calibrated.
- Wrong Temperature: Too hot can scorch the fabric; too cold leads to peeling. Always test with a scrap piece.
- Peeling Too Soon: Let the transfer cool before peeling to avoid distorting the design.
- Ignoring Fabric Type: Some fabrics may require adjusted settings. Always check compatibility.
DTF vs. Other Printing Methods
How does DTF stack up against DTG, screen printing, and vinyl? DTF shines in its ability to handle complex designs on a variety of fabrics without pre-treatment. It's more durable than DTG on synthetic fabrics and more cost-effective for short runs than screen printing. Vinyl is great for simple designs but falls short on intricate details. DTF offers a sweet spot of quality, versatility, and affordability.
Tips for Perfect DTF Transfers
To ensure your transfers look professional and last long, keep these tips in mind:
- Store Transfers Properly: Keep unused transfers in a cool, dry place away from direct sunlight.
- Use a Teflon Sheet: Protect your heat press and designs with a Teflon sheet during pressing.
- Wash Inside Out: To prolong the life of your prints, wash garments inside out in cold water and tumble dry low.
- Test First: Always do a test press on a scrap fabric to fine-tune your settings.
Frequently Asked Questions
Can I use DTF transfers on 100% cotton shirts?
Absolutely. DTF transfers work beautifully on cotton, as well as polyester and blends. The key is to adjust your heat press settings according to the fabric type.
How long do DTF transfers last?
With proper application and care, DTF transfers can last as long as the garment itself. They are resistant to cracking, fading, and peeling even after multiple washes.
Do I need a special printer for DTF?
Yes, DTF requires a printer that uses DTF ink and can handle PET film. However, if you're not ready to invest, you can buy pre-printed transfers from suppliers.
What is the best temperature for DTF pressing?
The ideal temperature range is 300°F to 325°F (150°C to 160°C). Always consult your transfer supplier's recommendations and test on a scrap first.
Can I layer DTF transfers?
Yes, you can layer multiple transfers, but it's best to press each layer separately and ensure proper adhesion between layers.
DTF transfers are a game-changer for custom apparel. With the right knowledge and tools, you can achieve professional-quality prints at home or in your shop. Remember to source high-quality supplies and follow the best practices outlined here. Happy printing!