
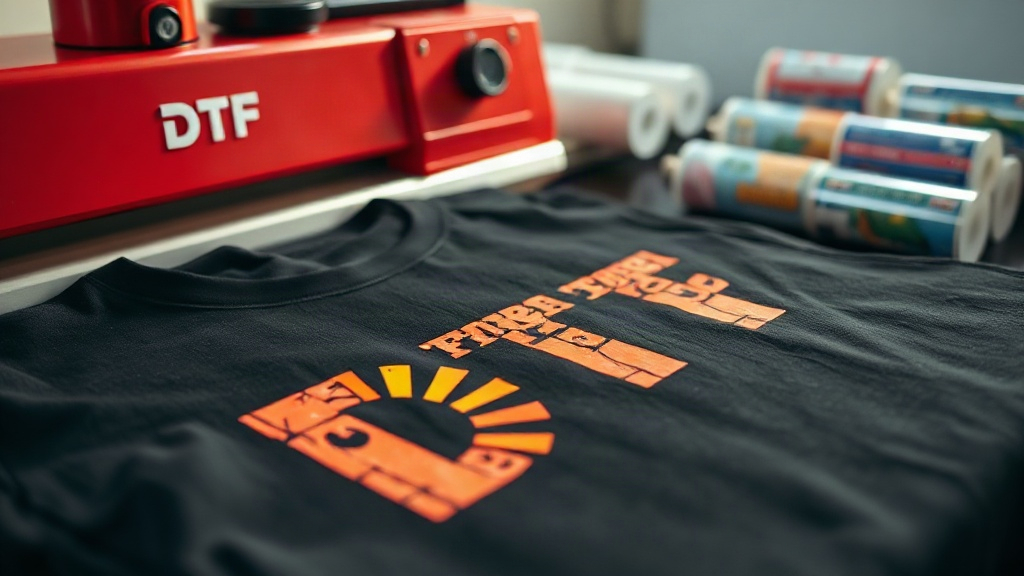
Direct-to-film (DTF) printing has revolutionized the garment decoration industry, offering a versatile and cost-effective way to create vibrant, detailed designs on a wide range of fabrics. Unlike other methods, DTF printing doesn't require pre-treatment or special coatings, making it accessible for small businesses and hobbyists alike. Whether you're new to DTF or looking to refine your technique, this guide will walk you through the essential steps to achieve professional-quality transfers.
What is DTF Printing?
DTF printing involves printing your design onto a special film using pigment-based inks, then applying a hot-melt adhesive powder to the wet ink. After curing, the transfer is ready to be heat-pressed onto fabric. The result is a soft, stretchable print that adheres well to cotton, polyester, blends, and even treated nylon. Because the design sits on top of the fabric rather than being dyed into it, colors remain bright and opaque, especially on dark garments.
Why Choose DTF Over Other Methods?
If you've tried DTG or vinyl, you know their limitations. DTG requires pre-treatment and works best on 100% cotton, while vinyl is time-consuming for multi-color designs. DTF shines because it:
- Works on almost any fabric, including polyester and blends.
- Eliminates weeding and masking.
- Produces durable, stretchable prints.
- Is cost-effective for short runs and complex designs.
For a small shop offering custom apparel, DTF means you can say yes to more orders without investing in multiple systems.
Essential Supplies for DTF Printing
Before you start, gather these items:
- DTF printer (modified inkjet with DTF inks) or a dedicated DTF printer.
- DTF film (PET film with a matte or glossy side).
- DTF ink (CMYK plus white).
- Hot-melt adhesive powder (TPU-based).
- Heat press or oven for curing.
- Heat-resistant tape and parchment paper.
Quality supplies matter. Cheap film can cause ink bleeding, and low-grade powder may lead to poor wash durability. Invest in reputable brands to save headaches later.
Step-by-Step DTF Printing Process
1. Design Preparation
Create your artwork in a vector or high-resolution raster format. Remember that DTF prints are opaque, so you don't need to worry about background colors. However, ensure your design has transparent background if you want the fabric to show through. Mirror your design horizontally before printing, as you'll be pressing it face down.
2. Printing the Transfer
Load your DTF film into the printer with the coated side facing the printhead. Print your design using the appropriate settings for your printer and ink. Most DTF printers lay down a white ink base followed by CMYK. This white layer is crucial for vibrant colors on dark fabrics. Allow the print to dry slightly until it's tacky but not wet.
3. Applying Adhesive Powder
Sprinkle hot-melt powder evenly over the wet print. You can use a shaker bottle for better control. Gently tilt the film to remove excess powder, then tap the back to ensure an even coat. Too much powder can make the transfer stiff; too little reduces adhesion. Aim for a uniform, thin layer that sticks to the ink.
4. Curing the Powder
Curing melts the powder into a adhesive layer. You can use a heat press set to 320°F (160°C) for 2-3 minutes, or a conveyor oven. Place the film on a heat-resistant surface, cover with parchment paper, and press. The powder should turn glossy and gel-like. Avoid over-curing, which can cause the film to warp.
5. Heat Pressing onto Fabric
Set your heat press to 300-325°F (150-160°C) with medium pressure. Pre-press the garment for 5 seconds to remove moisture. Place the transfer face down on the fabric, cover with parchment, and press for 10-15 seconds. For best results, use a second press for 5 seconds after peeling the film while hot (hot peel) or cold (cold peel) depending on your film type. Most DTF films are hot peel, meaning you remove the film immediately after pressing while it's still hot.
Common DTF Problems and How to Fix Them
Print Cracking or Fading After Wash
This usually indicates under-curing of the powder or insufficient pressure during transfer. Increase curing time or temperature, and ensure your heat press applies even pressure. Also, check that you're using quality powder and film.
Ink Bleeding or Smudging
Ink bleeding often results from using too much ink or low-quality film. Reduce ink density in your printer settings and switch to a premium DTF film. Also, ensure the film is stored in a dry environment.
Poor Adhesion to Fabric
If the transfer peels off, the powder may not have been applied evenly, or the press temperature was too low. Try increasing pressure and temperature slightly. For stubborn fabrics like nylon, a higher temperature may be needed, but always test first.
Stiff or Rubbery Feel
Excessive powder causes a stiff hand. Use a finer powder and apply a thinner layer. Also, avoid over-curing, which can make the transfer hard.
Tips for Consistent Results
- Maintain a clean workspace to avoid dust contaminating the film.
- Store DTF film and powder in a cool, dry place.
- Perform a test print and press on scrap fabric before production runs.
- Keep a log of settings for each fabric type.
- Use a heat gun or infrared thermometer to verify press temperature.
Frequently Asked Questions
Can I use DTF on 100% polyester?
Yes, DTF works well on polyester, including blends. However, polyester requires lower pressing temperatures (around 280-300°F) to avoid dye migration. Always test a small area first.
How long does a DTF transfer last?
With proper application and care, a DTF transfer can last 50+ washes. Turn the garment inside out and wash in cold water; avoid bleach and fabric softener.
Do I need a special printer for DTF?
You can convert an Epson inkjet printer with DTF inks and a roll feeder, or buy a dedicated DTF printer. Dedicated printers offer better reliability and white ink circulation.
What's the difference between hot peel and cold peel film?
Hot peel film is removed immediately after pressing while hot, yielding a slightly glossier finish. Cold peel requires the transfer to cool completely before peeling, often resulting in a matte finish. Both work well; choose based on your preference.
Can I layer DTF transfers?
Yes, you can layer DTF transfers for multi-color designs, but it's tricky. It's better to print the entire design as one transfer. If layering, press each layer separately and ensure proper adhesion.
Final Thoughts
DTF printing opens up a world of possibilities for custom apparel. With the right supplies and a bit of practice, you can produce vibrant, durable transfers that impress customers. Remember to start with quality materials, follow the correct steps, and troubleshoot systematically. For more tips and supplies, visit DTF Print Boost.